
Key Takeaways
- Put the temporary kitchen near a sink, and ask your contractor which outlets stay live during demolition and which circuit each one is on.
- Plug major appliances directly into a wall outlet. A microwave and a coffee maker at the top of their typical wattage ranges add up to more than a 15-amp circuit carries (our calculation).
- Keep the temporary fridge at or below 40° F and the freezer at 0° F, and check both with an appliance thermometer (FDA).
- Seal the supply and return vents in the work area during dusty work (EPA), then change the furnace filter once it is done.
- Your written schedule tells you how long the kitchen is out of service, so you can plan meals and errands around it.
To live without a kitchen during a remodel, set up a temporary kitchen in another room before demolition. Move the refrigerator there, add a microwave, a coffee maker and a folding table, and pick a sink for washing dishes. Plug major appliances directly into a wall outlet, keep the fridge cold enough and plan simple meals that need no stove. Pack the old kitchen a few days early so nothing you use daily ends up in a box.
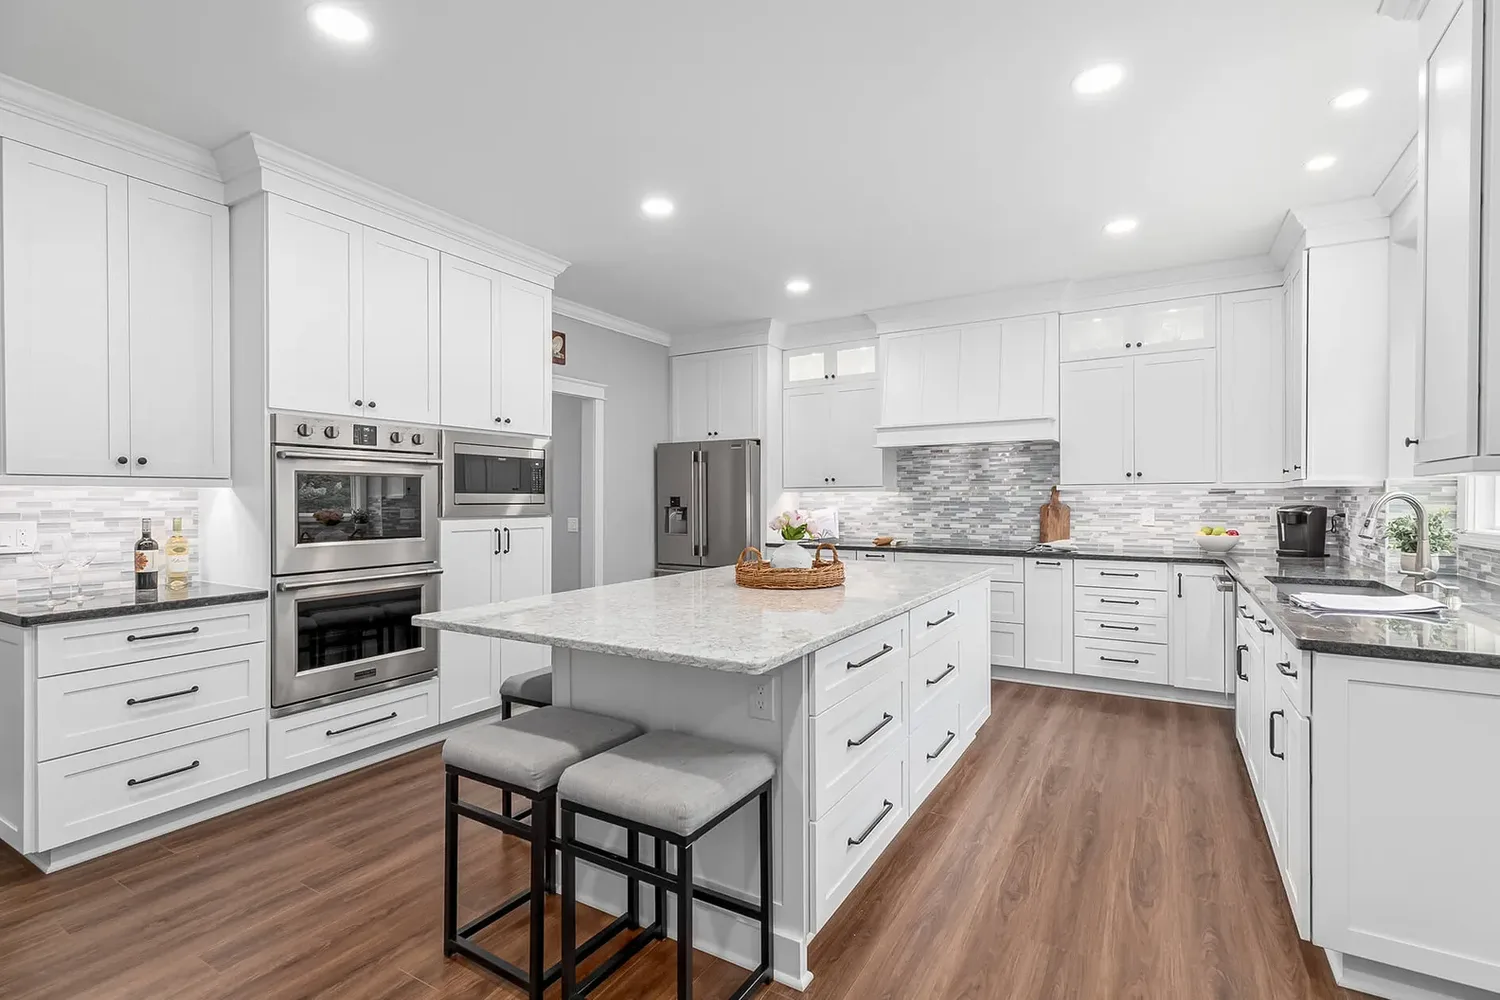
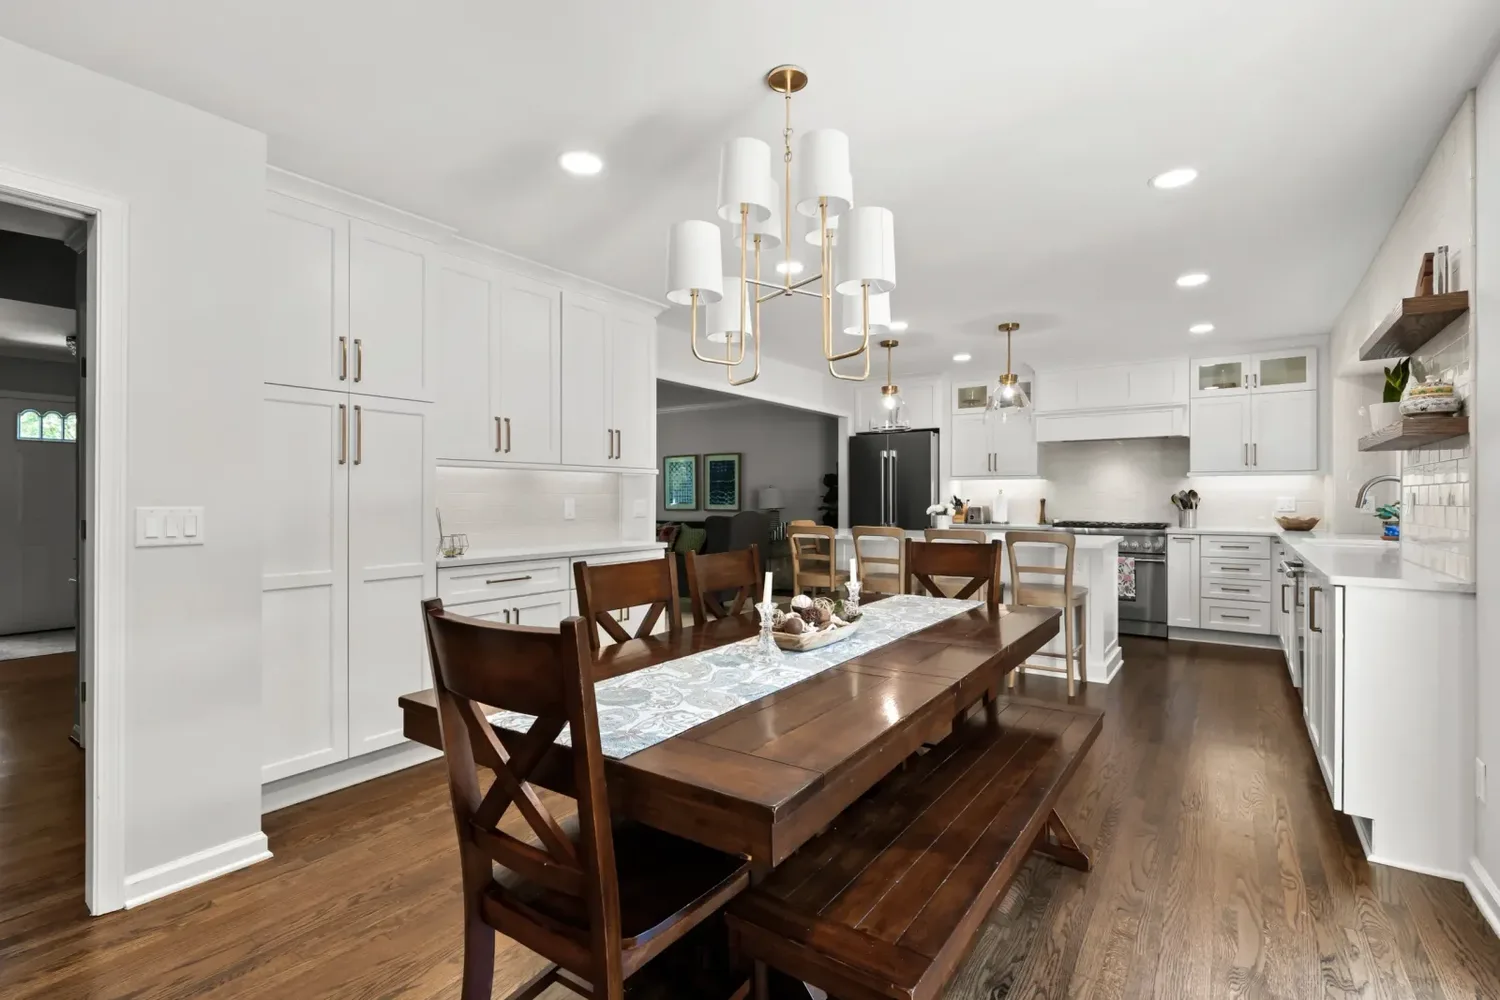
A temporary kitchen is a small cooking and cleanup station in another room that stands in for your kitchen from demolition until the new one works. Most families set one up with the fridge, a microwave, a coffee maker and a folding table, and we help clients plan it before demolition so nothing they need gets packed away. The kitchen at the top is our Milford refresh, which kept the same footprint while updating the kitchen, mudroom and laundry.
1. Pick the right room and check the power
Choose a room close to the kitchen with space for a table and the refrigerator, and a path to a sink. Dining rooms, breakfast nooks, basements with a laundry room and attached garages all work. A dining room keeps the family eating together; a basement puts more distance between you and the dust.
Check the outlets before you commit. Ask your contractor which outlets stay live during demolition and which breaker each one is on, then put the microwave, coffee maker and cooker on different circuits. Outlets in the same room often share one circuit.
How to plug in temporary-kitchen appliances
Countertop appliances draw a lot of power. Virginia Cooperative Extension lists a microwave oven at 750 to 1,100 watts, a coffee maker at 900 to 1,200, a toaster at 800 to 1,400 and a toaster oven at 1,225. A frost-free 16-cubic-foot refrigerator draws 725 watts (Virginia Cooperative Extension, 2020).

Our math (calculated as amps times volts): a 15-amp, 120-volt circuit carries 1,800 watts (15 x 120), and a 20-amp circuit carries 2,400 watts. A microwave and a coffee maker at the top of their ranges total 2,300 watts. Run both on one 15-amp circuit at the same time and the breaker can trip.
Fire-safety and manufacturer guidance agree on how to plug things in:
- Major appliances go straight into the wall. The U.S. Fire Administration says to "always plug major appliances [refrigerators, stoves, washers and dryers] directly into a wall outlet" and to "never use an extension cord with a major appliance," because the cord "can overheat and start a fire." The same card says, "Do not overload outlets" and "Do not overload power strips" (USFA).
- The refrigerator gets no extension cord or adapter. GE Appliances says, "We strongly recommend that an extension cord not be used with any Refrigeration appliances," and "Do not cut the grounding prong and do not use an adapter" (GE Appliances).
- The microwave wants its own circuit. GE's guidance for its microwaves calls for "a 120 volt, individual, properly grounded branch circuit" with a breaker of 15 or 20 amps (GE Appliances). An individual circuit, which GE also calls a dedicated circuit, feeds one appliance and nothing else.
2. The temporary kitchen setup checklist
Gather these before demolition day:
- Refrigerator. Your own, moved into the temporary room, or a spare from the garage. If yours has an ice maker, its water line has to be disconnected before the fridge moves.
- Microwave. The workhorse of a remodel. A combination microwave and air fryer covers more meals.
- Coffee maker or kettle. Morning coffee stays on schedule.
- One countertop cooker. A slow cooker, multicooker or electric griddle. Pick one rather than all three, and run it on a different circuit from the microwave.
- Folding table. A sturdy 6-foot table becomes your counter.
- Plastic shelving or a rolling cart. For dry goods, plates and cooking tools.
- Two dish bins. One for dirty dishes, one for clean.
- Paper plates, cups and utensils. Fewer dishes to wash in a small sink.
- A small set of real tools. One knife, a cutting board, a spatula, a pot holder, a can opener and a few containers.
- Appliance thermometers. One for the fridge and one for the freezer.
- Trash and recycling bins. Set them right next to the table.
- Cleaning kit. Dish soap, sponges, paper towels, wipes and a drying rack.
- A cooler. Handy for drinks, which frees fridge space for food.
Keep the kit small. Every item you set up is one more thing to pack when the new kitchen is ready.
3. Choose a place to wash dishes
Pick your dishwashing spot before demolition, because it decides how much you can cook. A laundry sink is the easiest option because it does not tie up a bathroom, and a deep one handles pots better than a vanity sink.
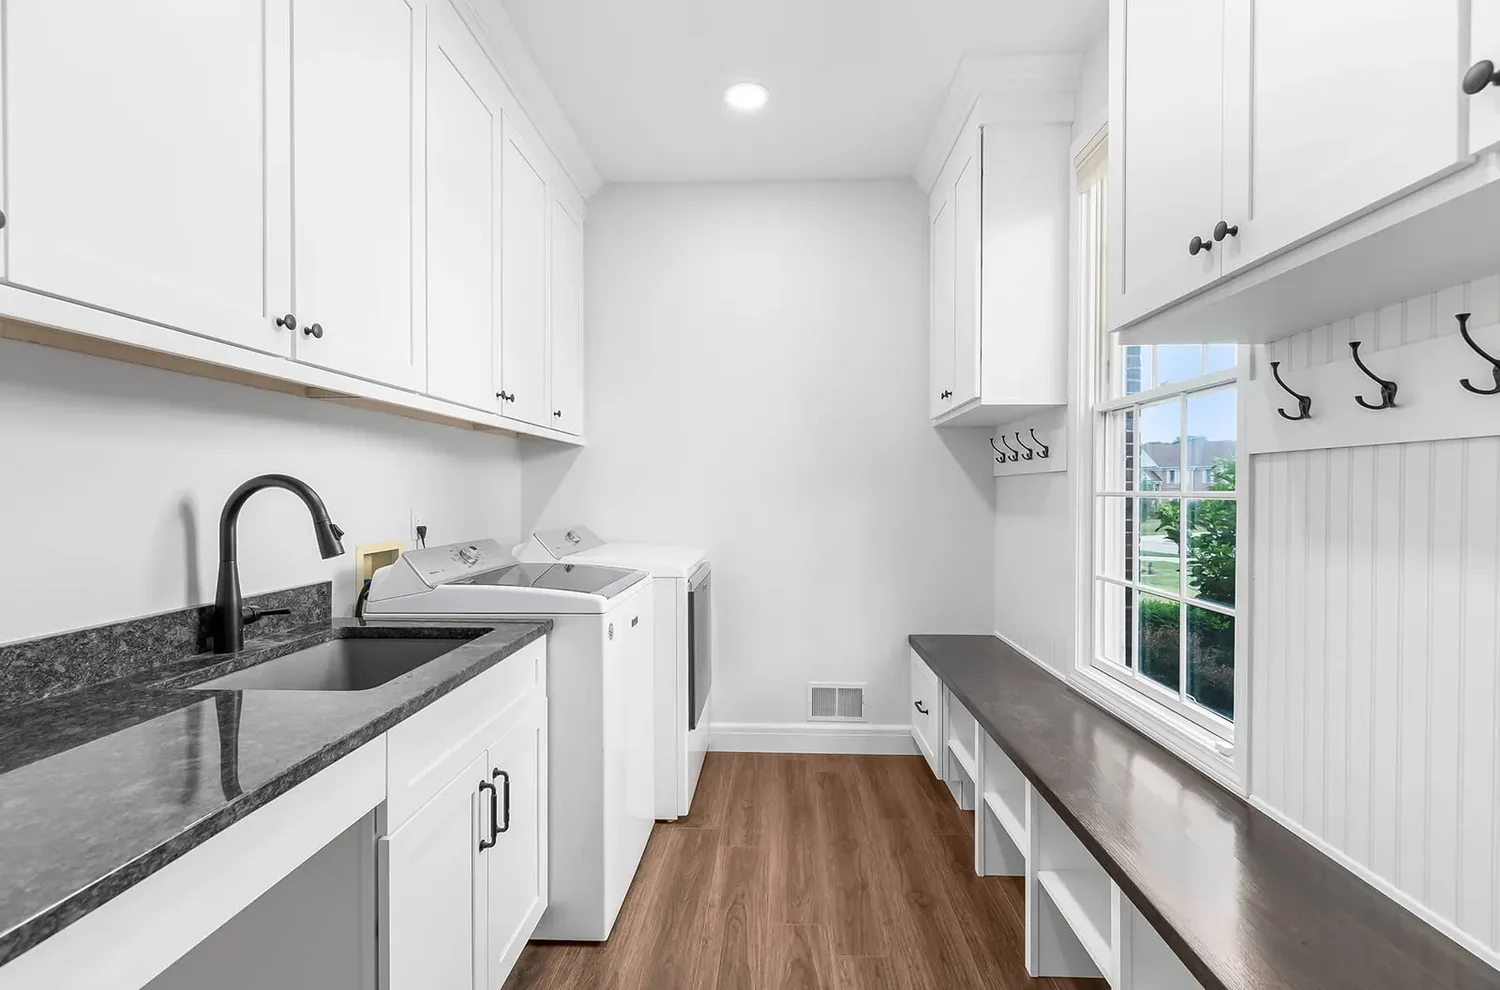
Without a laundry sink, use a bathroom sink or a bathtub for rinsing, with a dish bin to carry things back and forth. Keep a strainer in the drain so food scraps do not clog a bathroom line. Paper plates cut the load a lot.
4. Keep food cold and meals simple
A temporary fridge in a dining room or garage works only if it holds the right temperature. If it sits in an unheated garage, check the thermometer daily. The FDA's guidance for home storage is short (FDA):
- "Keep the refrigerator temperature at or below 40° F (4° C)."
- "The freezer temperature should be 0° F (-18° C)."
- "Appliance thermometers are the best way of knowing these temperatures and are generally inexpensive."
- Don't "crowd the refrigerator or freezer so tightly that air can't circulate."
The two-hour rule says food that needs refrigeration should sit out at room temperature for no more than two hours (FDA). It matters more when the fridge sits in another room and the folding table becomes your counter, so put perishables back as soon as you finish prepping.
Then plan a simple rotation for the days without a range and oven. Write it down before demolition so you shop for it once.
- Breakfast: cereal, yogurt, fruit, microwave oatmeal, toast if you keep a toaster.
- Lunch: sandwiches, wraps, salads from a kit, leftovers.
- Dinner: slow cooker or multicooker meals, rotisserie chicken with bagged salad, microwave vegetables, grilled food if you have a grill outside.
- Prep ahead: cook and freeze a few meals in the weeks before demolition, then reheat them in the microwave.
If the slow cooker is your main cooker, USDA's Food Safety and Inspection Service advises thawing ingredients before they go in. It also advises against reheating leftovers in a slow cooker; reheat them in the microwave until they reach 165° F (USDA FSIS, slow cookers). FSIS also suggests using refrigerated leftovers within 3 to 4 days (USDA FSIS, leftovers).
Budget for a few meals out each week anyway. Everyone needs a break from paper plates.
5. Pack the old kitchen a few days early
Empty the kitchen before the crew arrives. Start a few days ahead so you are not boxing dishes at midnight.
- Pull out what you will use in the temporary kitchen first, then pack everything else.
- Label boxes by where things will go in the new kitchen.
- Use up open food and freezer items in the weeks before demolition.
- Donate gadgets and dishes you have not used in a year. Fewer boxes come back.
- Store boxes away from the work path, in a basement, garage or spare room.
6. Keep the work zone and the living zone apart
Treat the old kitchen as a job site until the final walkthrough.
Before we start, our pre-construction meeting walks through parking, dumpster placement, pets, daily start times and dust control, so you know the routine before day one. During the work we isolate the workspace, install protective barriers and do daily clean-ups to keep dust and disruption down.
A few habits help on your side:
- Keep children and pets out of the work area. EPA's guidance for lead-paint repairs says to "keep children, pregnant people and pets out of the work area at all times" (EPA). Gate the doorway if you need to.
- Protect the heating and cooling system. During dusty renovation work, EPA advises sealing off the supply and return registers and not running the system "until after cleaning up the dust" (EPA). Confirm the vents in the work area are sealed, and change the furnace filter once the dusty work is done.
- Close interior doors to rooms you want to keep clean.
- Know your lead-paint risk. EPA's Renovation, Repair and Painting rule covers work that disturbs lead-based paint in homes built before 1978. It requires renovation firms to be EPA-certified and their workers to be trained in lead-safe work practices (EPA). If your home is that old, ask any contractor you hire whether they are certified.
7. Plan around your written schedule
The time without a kitchen depends on the scope. A same-footprint refresh asks less of the house than a remodel that moves walls or plumbing.
With Bulldog, the full process from the first design meeting to the final walkthrough usually takes 4 to 8 weeks. Your build dates are fixed in writing before we start, and every material is staged before demo day. That written schedule sets the dates your kitchen is out of service, so plan meals, shopping and dinners out around it.
Permitted work also needs inspections before walls are closed. Which kitchen remodels need a permit in Cincinnati and Northern Kentucky explains when that applies, and how long a kitchen remodel takes walks through each phase. For the full picture, start with our kitchen remodel planning guide.
Frequently asked questions
Can I stay in my house during a kitchen remodel?
Yes, most clients do, using a temporary kitchen in another room. We isolate the workspace, install protective barriers and do daily clean-ups, and the pre-construction meeting sets daily start times.
Where should I wash dishes without a kitchen sink?
A laundry sink works best. A bathroom sink or tub works for rinsing if you use a strainer, and paper plates cut down the load.
Can I keep using my refrigerator?
Yes. Move it to the temporary kitchen before demolition and plug it directly into a wall outlet, with no extension cord or adapter. Check that it holds 40° F or below with an appliance thermometer. If the new kitchen gets a new refrigerator, the old one can serve until delivery day.
When can I use the new kitchen?
Once the counters, sink and appliances are installed and connected. For permitted work, the building department's final inspection comes at the end. Your written schedule shows when to expect it.
Ready to plan your kitchen?
Book an in-home consultation and we will walk the room and talk through a realistic budget range. After you sign off on your selections, you get an itemized, fixed price with your dates in writing, and we help you plan the temporary kitchen before demolition. You can also browse our kitchen remodels, read how our process works, or call us at (513) 657-3750.
Sources
- Virginia Cooperative Extension (Grisso, Walker and Ignosh). ENERGY SERIES: Estimating Appliance and Home Electronic Energy Use. February 26, 2020.
- U.S. Fire Administration. Electrical and Appliance Fire Safety card. Undated.
- GE Appliances. Refrigerator & Freezer: Extension Cord or Adapter. Undated.
- GE Appliances. Microwave: Electrical Requirements and Breaker Size. Undated.
- U.S. Food and Drug Administration. Are You Storing Food Safely?. Content current as of January 18, 2023.
- USDA Food Safety and Inspection Service. Slow Cookers and Food Safety.
- USDA Food Safety and Inspection Service. Leftovers and Food Safety.
- U.S. Environmental Protection Agency. Post-Disaster Renovations and Lead-Based Paint.
- U.S. Environmental Protection Agency. Should You Have the Air Ducts in Your Home Cleaned?.
- U.S. Environmental Protection Agency. Lead Renovation, Repair and Painting Program Rules.